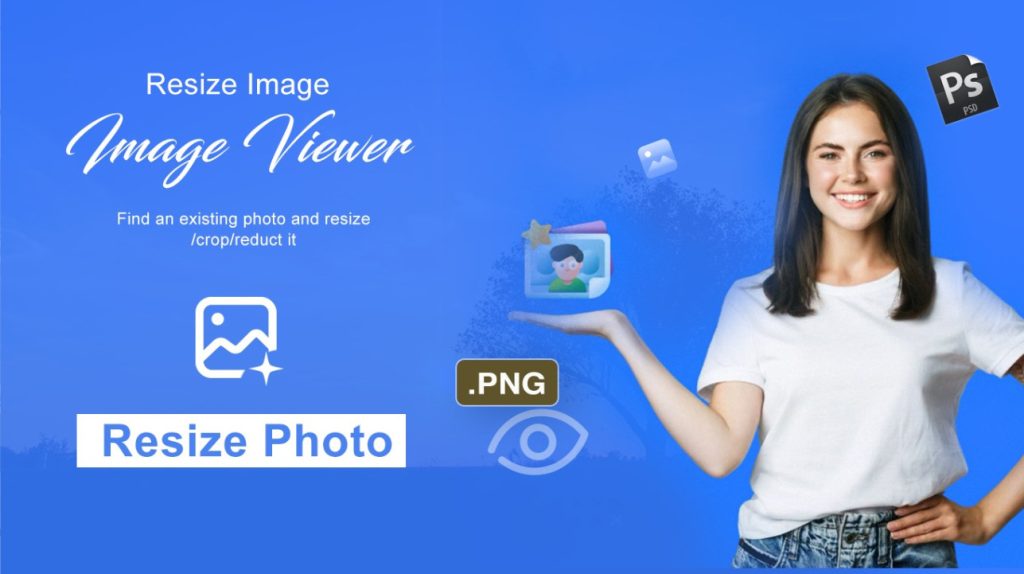
Resize Image - Image Viewer
Resize Image - Image Viewer is a powerful and easy-to-use Windows app designed for anyone who works with images—whether you're a casual user, a student, or a professional.
Resize Image – Image Viewer is a powerful, user-friendly Windows app designed for everyone—from casual users and students to photographers and professionals. With an intuitive interface and a robust set of features, it makes working with images fast, simple, and effective.
Key Features
View & Edit Single Images
Open and explore images in high quality. Add creative touches using built-in editing tools:
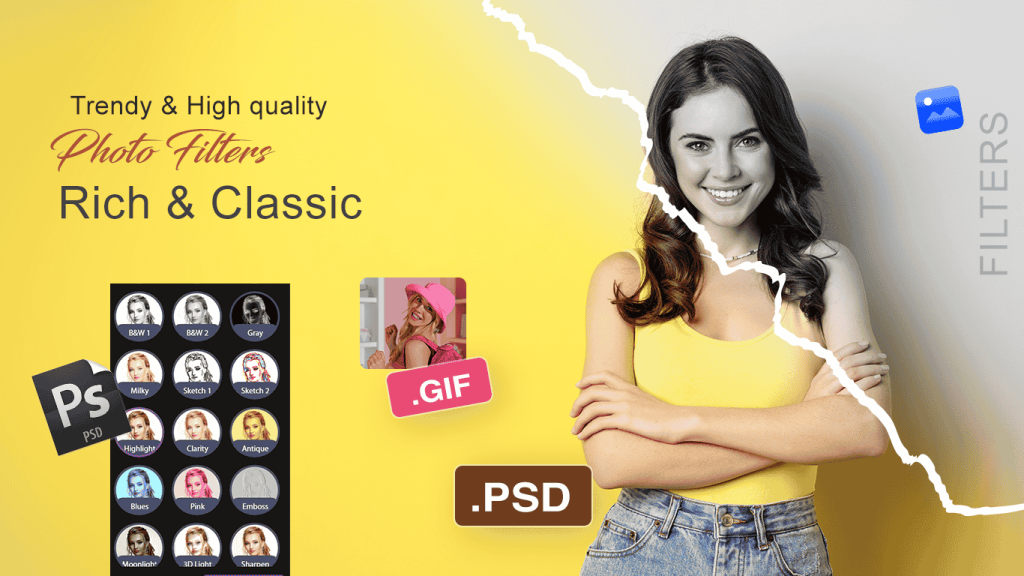
Add text, stickers, and stylish filters
Apply effects, adjust brightness, contrast, crop, or rotate images
Resize a Single Photo
Easily resize individual images to match your exact specifications—perfect for profile pictures, social media posts, or printing.
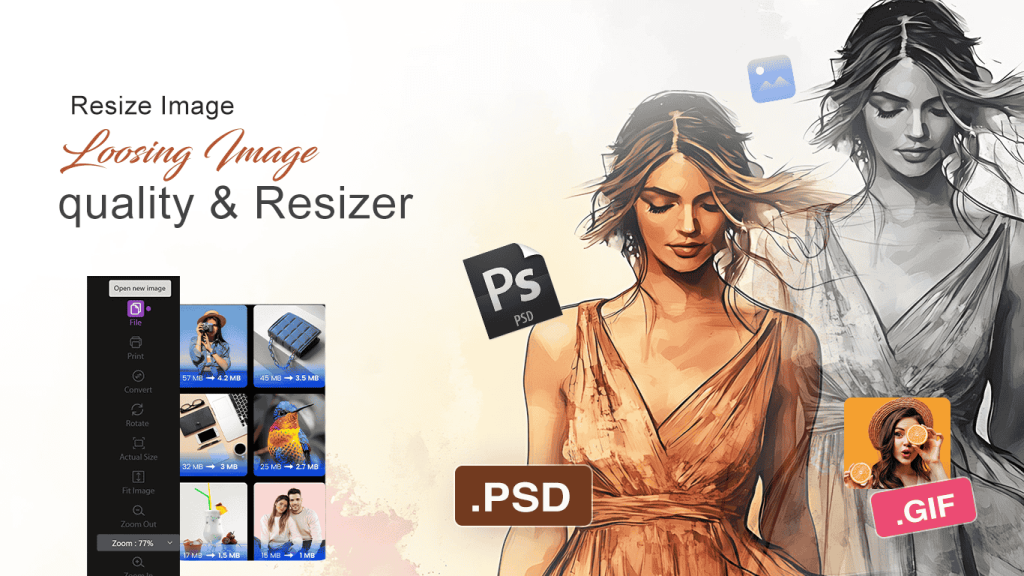
Batch Resize Multiple Photos
Resize multiple images at once in just a few clicks. Ideal for managing large image collections, creating content, or saving storage space.
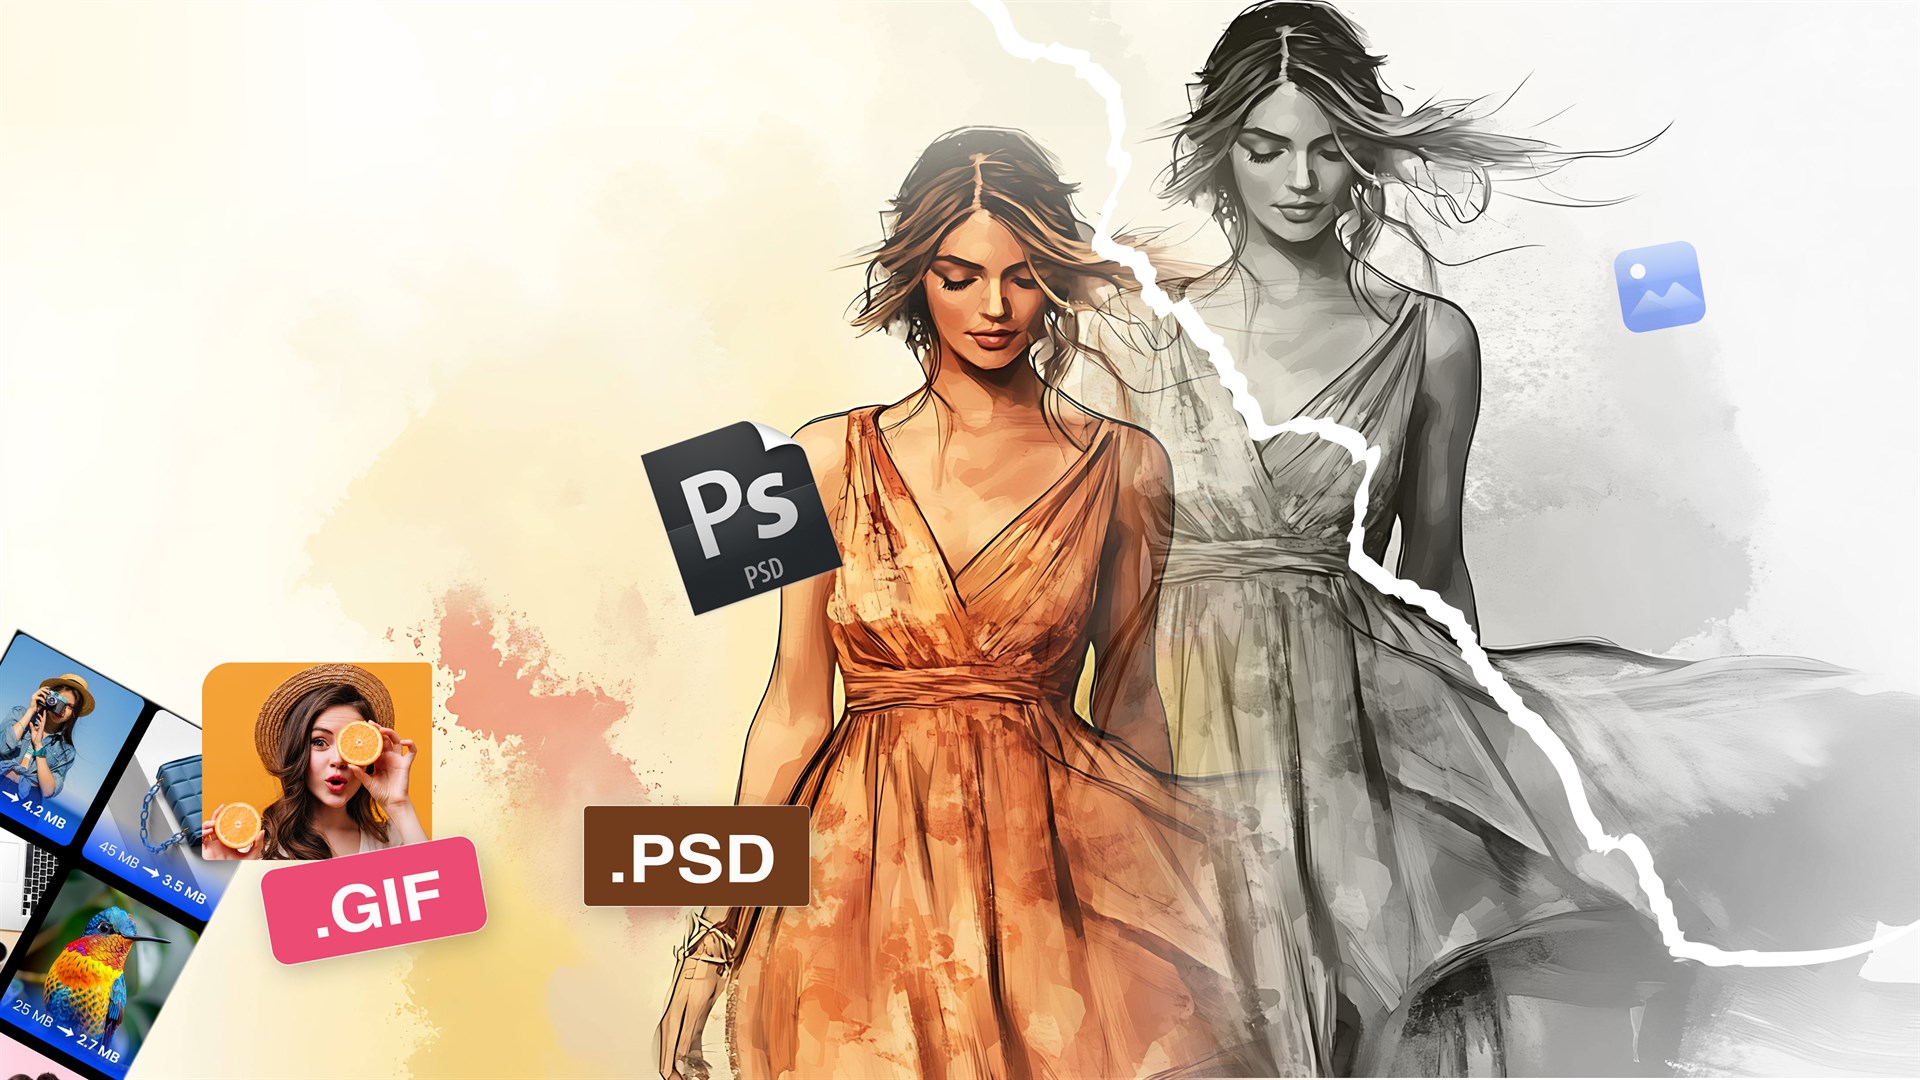
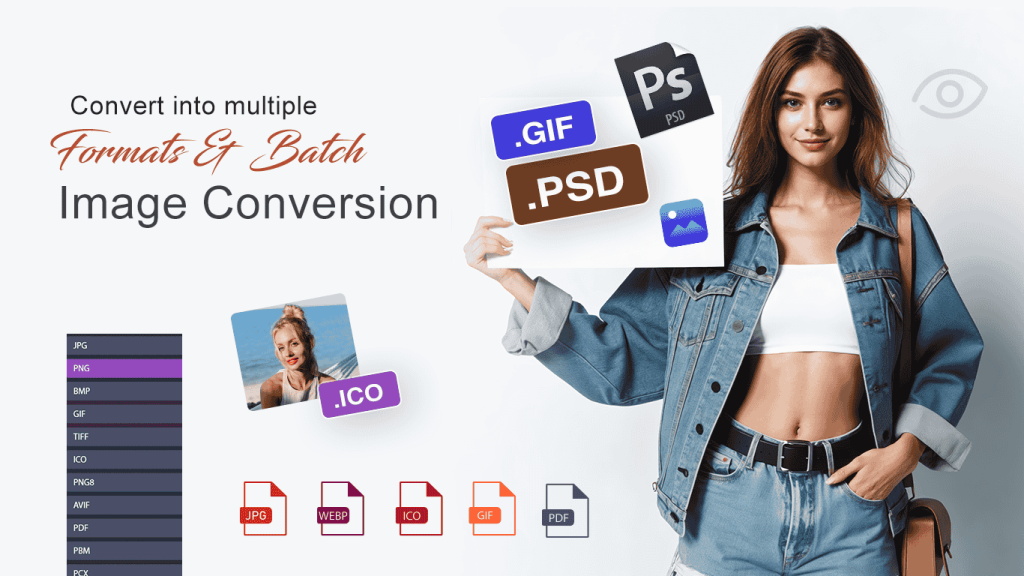
Bulk Convert Image Formats
Convert images to and from popular formats including JPG, PNG, HEIC, BMP, TIFF, and GIF. Whether for web use or backup, conversion is seamless and efficient.
Resize from Camera
Capture photos directly from your device’s camera and resize them instantly. Great for quick edits, document scans, and content creation on the go.
Why Choose Resize Image – Image Viewer?
Clean, easy-to-navigate interface
Lightning-fast performance
Supports all major image formats
Perfect for personal, academic, or professional use
Take control of your image workflow today—whether you’re editing a single photo or processing an entire folder, Resize Image – Image Viewer delivers all the tools you need in one place.
Download now and transform the way you manage images on Windows!
How to Use Single Image Viewer in Resize Image – Image Viewer
Follow these simple steps to view and edit a single image in the app:
1. Open an Image
Launch the Resize Image – Image Viewer app.
Click “Choose Image” or “File > Open” to select an image from your system’s gallery.
2. View & Navigate the Image
Use the Zoom In / Zoom Out buttons to magnify or reduce the image.
Click “Fit Image” to fit the image to the viewer window.
Select “Actual Size” to view the image in its original dimensions.
3. Rotate the Image
Click the Rotate icon to rotate your image clockwise.
4. Print the Image
Click on “File > Print” to send your image directly to a connected printer.
5. Convert the Image Format
Click the Convert icon to change your image to another format (e.g., JPG, PNG, HEIC, etc.).
Choose your desired format and save the converted image.
6. Edit the Image
Click the Edit button to open the editing tools.
Inside the editor, you can:
Adjust Brightness, Contrast, Hue, Saturation.
Apply Filters to give your image a unique style
Crop to trim unwanted areas
Add Text with custom fonts and colors
Add Stickers for a creative touch
7. Save Your Creation
After editing, click the “Save As” button.
Choose a location on your device and give your image a name.
Click Save to store your beautifully edited image—ready to share with family and friends!
Single Photo Resizer :-
Step 2 :-
How to Use Single Image Resizer in Resize Image – Image Viewer
Follow these steps to resize a single image quickly and easily:
1. Open the Single Image Resizer
Launch the Resize Image – Image Viewer app.
Click on the “Single Image Resizer” button on the home screen.
2. Choose Your Image
Select an image from your system gallery.
To change the image, click “Import Again” and choose a different file.
3. Go to Crop Options
Click the “Next” button to access the cropping options.

Here you can:
Crop the image based on standard ratios or document types (like ID cards, passports, etc.)
Rotate the image if needed
Select from default sizes or use aspect ratio options
Adjust resolution or set a custom size
4. Set Resize Options
Click the “Ratio” button to choose how you want to resize:
By Percentage
By Width x Height
By Custom size in cm or inches
5. Save Your Resized Image
Click “Next” once your settings are complete.
Finally, click the “Save” button to store your resized image.
Your resized image is now ready to be shared with family, friends, or used professionally!
How to Use Multiple Size Resizer in Resize Image – Image Viewer
Step 3 :- Resize multiple images at once with just a few clicks by following these steps:
1. Open Multiple Size Resizer
Launch the Resize Image – Image Viewer app.
Click the “Multiple Size Resizer” option from the main menu.
2. Select Multiple Images
Choose multiple images from your system gallery.
You can select a batch of photos to process at once.
3. Rename Your Images (Optional)
Click on the “Rename” button.
Enter a new name or naming pattern for your resized images (e.g., “Vacation_01”, “Document_01”, etc.).
This helps keep your files organized.
4. Set Resize Options
Click on the “Ratio” button to choose your resizing method:
Percentage – Resize by scaling up/down
Width x Height – Resize by exact pixel dimensions
Custom size – Resize by cm or inches
5. Save Your Resized Images
After configuring the resize settings, click the “Next” button.
Then click “Save” to save all resized images to your chosen folder.
Step 4:-
How to Use Multiple Image Converter in Resize Image – Image Viewer
Easily convert multiple images to your preferred format in just a few steps:
1. Open Multiple Image Converter
Launch the Resize Image – Image Viewer app.
Click on the “Multiple Image Converter” option from the main screen.
2. Add Images
Click the “Add File” icon.
Select one or more images from your system gallery to convert.

3. Choose Output Format
Click on the “Converted To” dropdown menu.
Select your desired file format such as:
JPG, PNG, BMP, HEIC, MP4, PDF, and many more.
The app supports a wide range of trending and popular formats for all your needs.
4. Add a Folder (Optional)
Click on the “Add Folder” button.
Choose an entire folder containing images to convert them in bulk.
5. Set Output Location
Click the “Output Folder” button.
Create a new folder or select an existing one to save your converted files.
6. Convert Images
Once your files and format are selected, click the “Convert” button.
The app will quickly convert all selected images to the chosen format.
7. Delete Selected Images (Optional)
Click “Delete All” if you want to remove all selected images from the converter list.
Step 5:-
How to Use Image Resize Using Camera in Resize Image – Image Viewer
Capture and resize images directly from your system camera in just a few easy steps:
1. Open Camera & Capture Image
Launch the Resize Image – Image Viewer app.
Click on the “Image Resize Using Camera” button.
Your system camera will open. Capture an image using your webcam or connected camera device.
2. Open the Captured Image
The captured image will automatically load into the viewer.
If needed, you can re-capture or proceed to editing.
3. View & Navigate the Image
Use Zoom In / Zoom Out to adjust the view.
Click “Fit Image” to fit the image to the window.
Select “Actual Size” to see it in full resolution.
4. Rotate the Image
Click the Rotate icon to rotate the image clockwise.
5. Print the Image
Go to File > Print to print the captured image directly.
6. Convert the Image Format
Click the Convert icon.
Choose from formats like JPG, PNG, HEIC, BMP, etc.
Select your preferred format and save the image.
7. Edit the Image
Click Edit to open the image editor, where you can:
Adjust Brightness, Contrast, Hue, and Saturation
Apply Filters to enhance or stylize your image
Crop out unwanted parts
Add Text using custom fonts and colors
Add Stickers for creative flair
8. Save Your Creation
Click “Save As” to save your edited image.
Choose a location and name your file.
Click Save—your image is now ready to share with family and friends!