Party Invitation Maker: Paperless Posts
Create and Celebrate with Party Invitation Maker: Paperless Posts
Party Invitation Maker: Paperless Posts – Celebrate in Style!
Bring your events to life with Party Invitation Maker: Paperless Posts, the ultimate app for designing elegant invitations and enhancing your cherished memories with stunning photo frames. Whether you’re planning a grand celebration or an intimate gathering, our easy-to-use tools help you craft the perfect invites and keepsakes effortlessly.
Features That Shine
Elegant Invitation Maker – Paperless & Customizable
- Beautiful Templates – Choose from a vast collection of professionally designed invitations for weddings, birthdays, corporate events, and more.
- Full Customization – Personalize your invites with text, images, decorative elements, and stylish fonts.
- Effortless Sharing – Send invitations instantly via email, social media, or print for a classic touch.
Creative Photo Frames & Editing
- HD Frames for Every Occasion – Romantic, fun, elegant, or festive—enhance your photos with stunning frames.
- Photo Filters & Effects – Elevate your images with professional-grade filters for a polished look.
- Quick Editing & Sharing – Customize and share your framed photos instantly across your favorite platforms.
From heartfelt invitations to picture-perfect keepsakes, Party Invitation Maker: Paperless Posts is your go-to app for making every moment special.
Download now and unleash your creativity!
Download and Install
- Open the Windows App Store – Launch the Microsoft Store on your device.
- Search for the App – In the search bar, type “Party Invitation Maker: Paperless Posts” and press Enter.
- Install the App – Click on the “Install” or “Get” button to begin downloading and installing the app on your Windows device.
Open the App and Choose Your Option
- Launch the App – After installation, open the app from your desktop or the Start menu.
- Choose Your Option – Upon opening the app, you will see three main options: Invitation Templates, Frames Templates, and My Images.
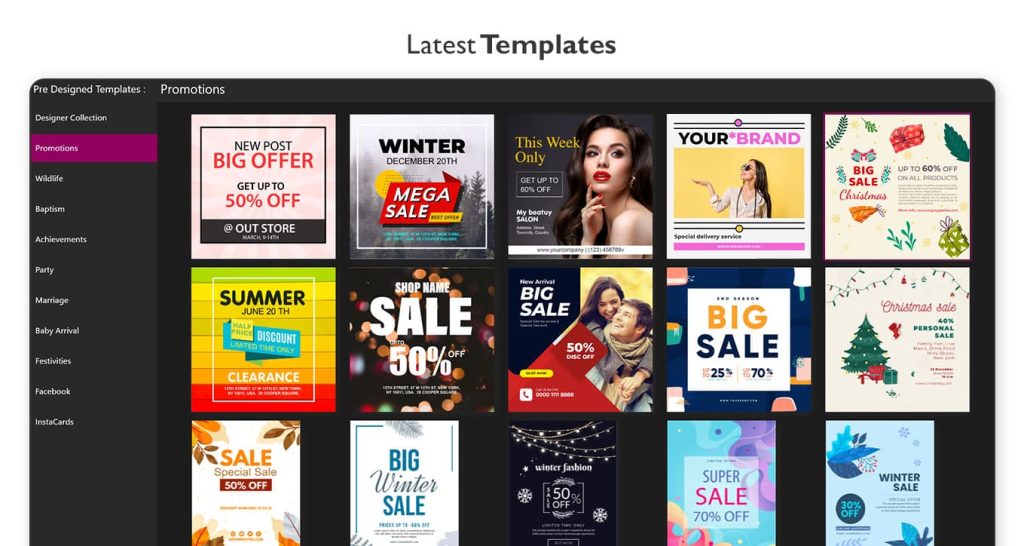
Invitation Templates
Step 1:-
- Click the Invitation Templates Button – Click on the “Invitation Templates” button to open it.
- Choose Templates – Inside the “Invitation Templates” section, you will find a wide range of templates to choose from. These templates are sorted into different categories for your convenience. Browse through the categories to find the one that best suits your needs. Once you’ve chosen a category, explore the available templates within that category.
Step 2 :- On the right side, adjust the blur intensity.
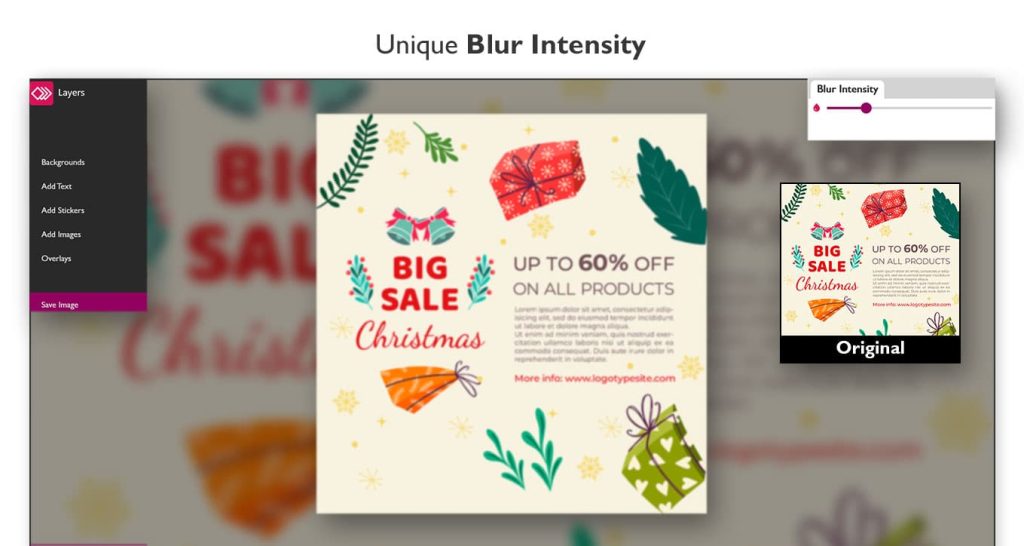
Step 3:- In the Background Section:
Click on Background – On the left side, click on the “Background” option.
Choose a Background Option – In the Background section, you’ll find five options:
- Background – Select a solid color or pattern for your background.
- Texture – Choose a textured background for added design.
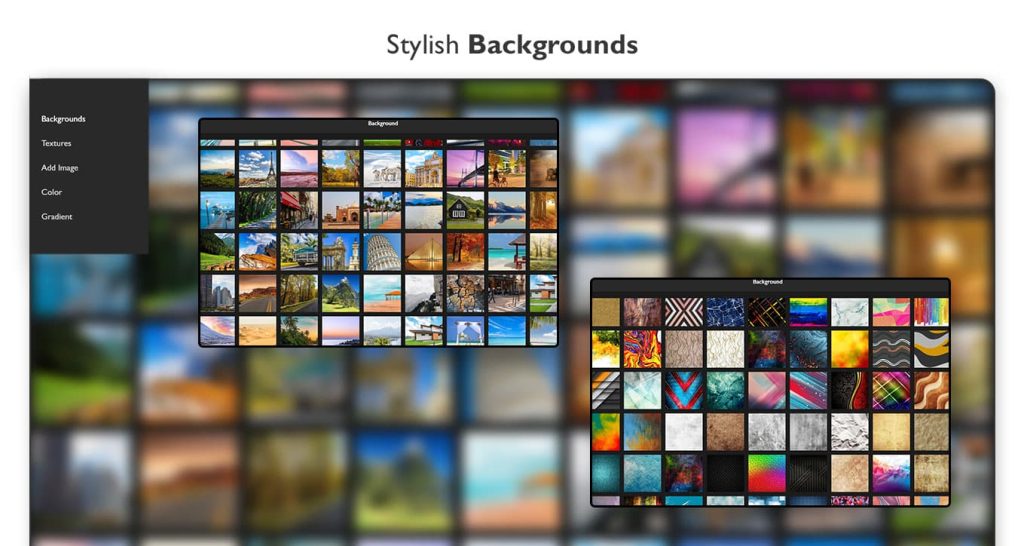
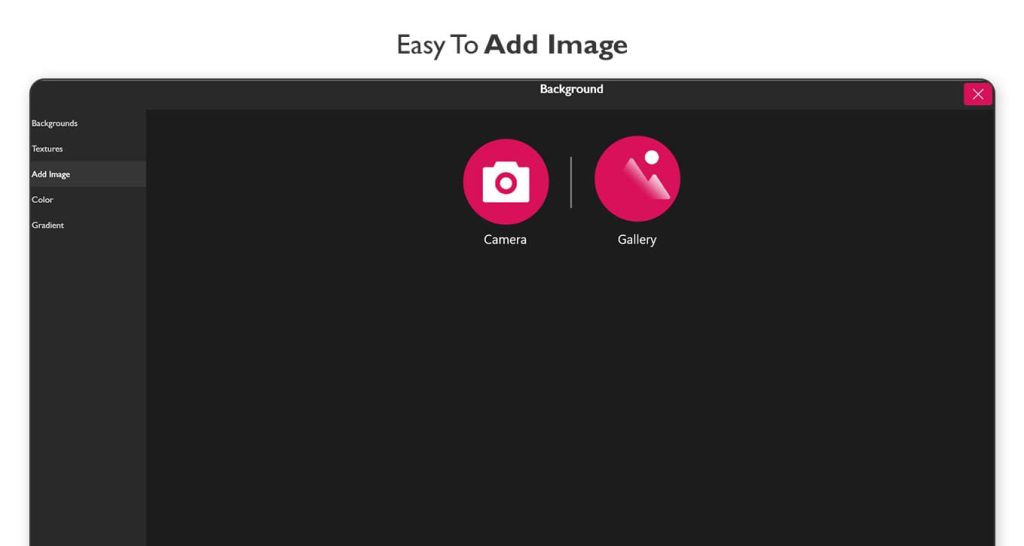
- Add Image – Click on “Gallery” to upload your own image to use as a background, or click on the “Capture Image” icon to take a photo using your camera.
- Color – Pick a specific color for your background.
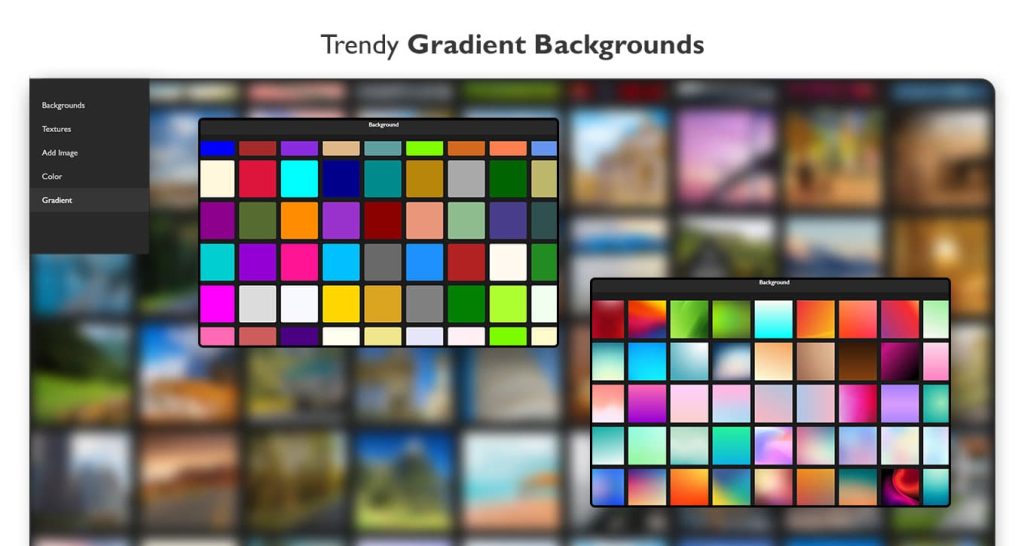
- Gradient – Select a gradient for a smooth color transition.
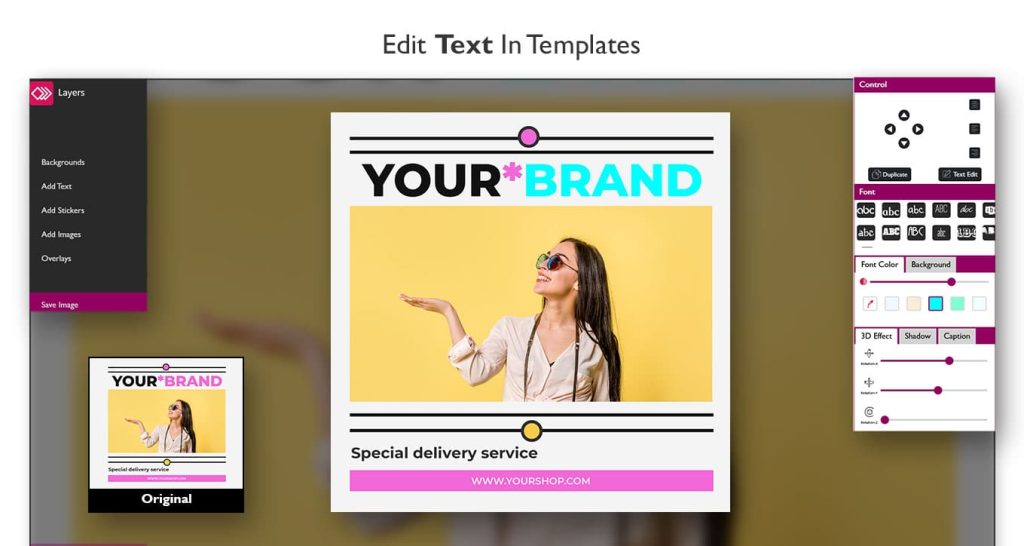
Add Text –
- Click on the “Add Text” option.
- Type your desired text in the text box.
- Customize the font, size, color, and alignment as needed.
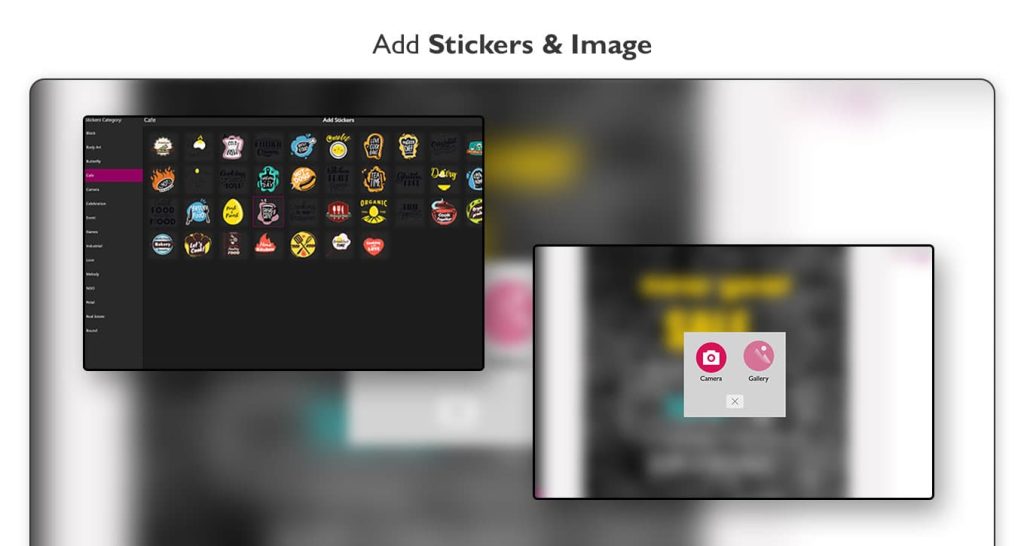
Add Sticker –
- Click on the “Add Sticker” option.
- Browse through available stickers or search for specific ones.
- Choose your sticker and place it where you want on the design.
Add Image –
- Click on “Add Image” to upload your own image.
- Select the image from your device or gallery.
- Resize and position it on your design.
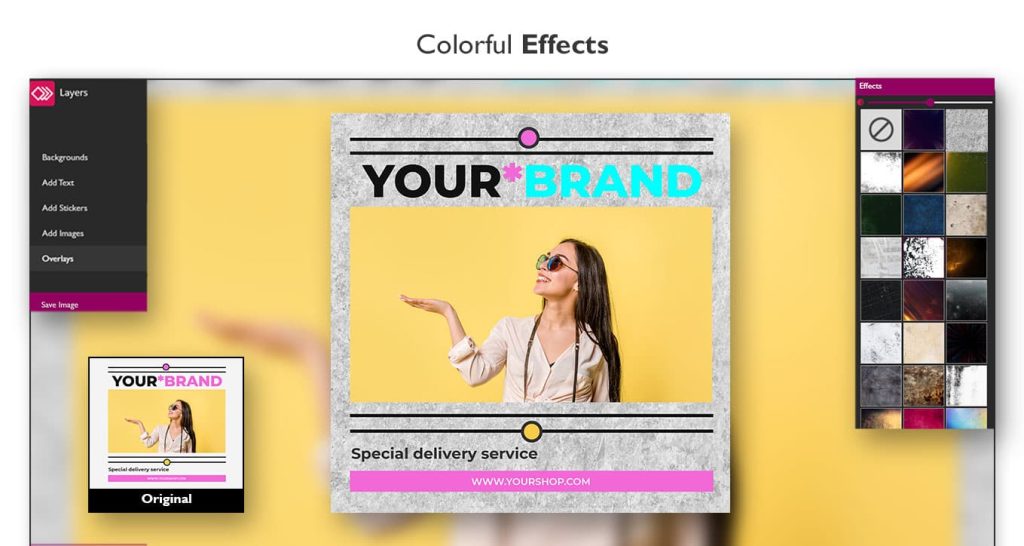
Add Overlays –
- Click on the “Overlays” option.
- Choose from various overlay designs or patterns.
- Adjust the transparency, size, and position to fit your design.
All Done!
Click on the Save Button – Once you’re satisfied with your design, click the “Save” button.
Save in Draft or Choose Your Favorite Format –
- You can either save it as a draft for later editing.
- Or, save it in your preferred format such as JPG, PNG, BMP, and many more.
Frames Templates
Step 1:
Click the Frames Templates Button – Click on the “Frames Templates” button to open it.
Choose a Template – Inside the “Photo Frames” section, you will find a wide range of photo frames to choose from. These templates are sorted into different categories for your convenience.
- Browse through the categories to find the one that best suits your needs.
- Once you’ve chosen a category, explore the available frames within that category.
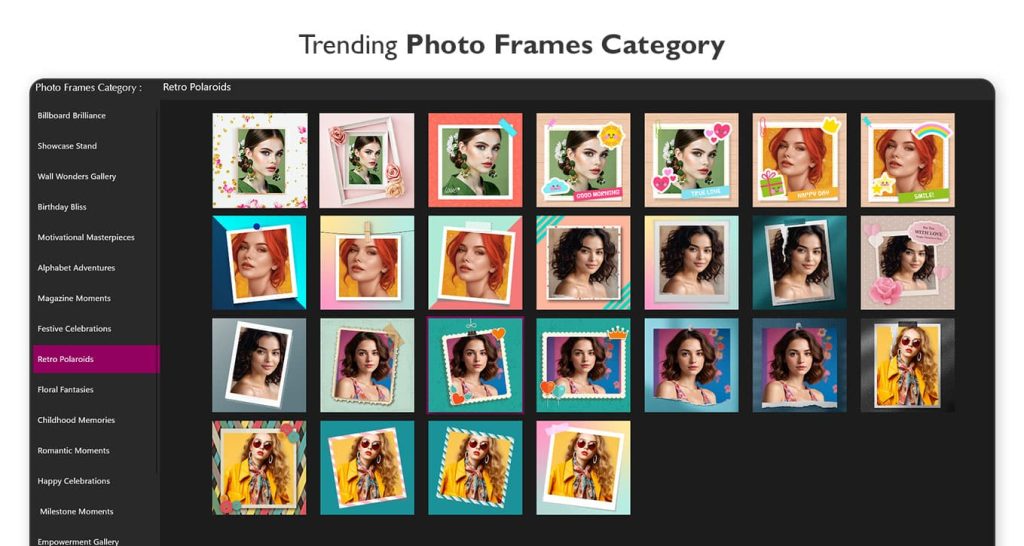
Step 2:-
After Selecting a Photo Frame Category
- Choose Your Favorite Frame – Browse through the available frames and select your preferred one.
- Select an Image – Click on the chosen frame and pick an image from your system gallery.
- Flip and Rotate – Adjust the image by flipping or rotating it as needed.
- Choose a Crop Ratio – Select your preferred crop ratio for the image.
- Click “Crop & Next” – After selecting the crop ratio, click the “Crop & Next” button to proceed to the next editing features.
Apply a Photo Frame
- Click on the Photo Frame Button – Select the “Photo Frame” button to open the frame selection.
- Choose Your Favorite Frame – Browse and select a frame to apply to your image.
- Use the Dropdown Menu – On the left side, use the dropdown menu to choose your preferred frame category.
- Apply the Frame – Select a frame from the chosen category and apply it to your image.
- Try Different Frames – Experiment by selecting frames one by one until you find the perfect fit.
- Finalize Your Choice – Once satisfied, keep the selected frame and proceed.
Apply a Photo Filter
- Click on the Filter Button – Select the “Filter” option.
- Choose Your Favorite Filter – Browse through the available photo filters.
- Apply the Filter – Click on a filter to see how it looks on your framed image.
- Experiment with Filters – Try different filters until you find the one that best enhances your creation.
- Finalize Your Choice – Once satisfied, keep the selected filter and proceed.
Adjust Image Settings
- Click on the Adjustment Button – Select the “Adjustment” option.
- Modify Image Settings – Adjust the following settings to enhance your image:
- Brightness – Increase or decrease the brightness.
- Contrast – Adjust the difference between light and dark areas.
- Saturation – Enhance or reduce the intensity of colors.
- Sharpness – Improve image clarity.
- Exposure – Control the overall lightness or darkness.
- Warmth – Adjust the temperature to make the image cooler or warmer.
- Use the Rotate Control – Rotate the image to achieve the desired orientation.
- Finalize Adjustments – Once satisfied, proceed to the next step.

Step 3:-
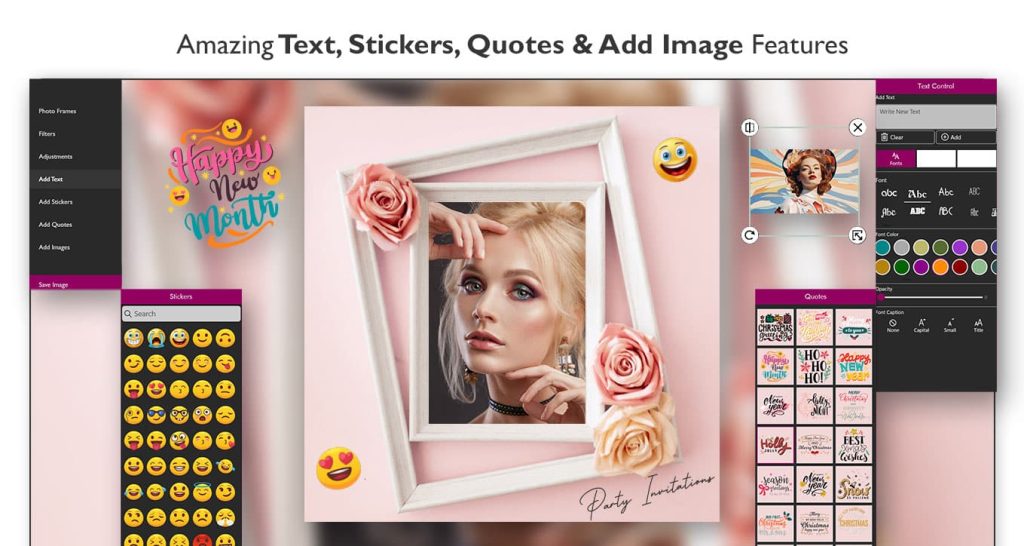
Add Text to Your Photo Frame
- Click on the Add Text Button – Select the “Add Text” option.
- Enter a Name or Text – Type the desired name or message for your photo frame creation.
- Customize the Text – Modify the text using the following options:
- Font Style – Choose from various font styles.
- Text Color – Select your preferred text color.
- Text Background – Add a background color or design behind the text.
- Opacity – Adjust the transparency of the text.
- Paragraph Alignment – Align the text (left, center, or right).
- Text Style – Apply bold, italic, underline, or other styling effects.
- Finalize Your Text – Adjust and position the text as needed, then proceed to the next step.
Add Stickers to Your Photo Frame
- Click on the Add Sticker Button – Select the “Add Sticker” option.
- Choose a Sticker Category – Browse through different sticker categories to find the one that suits your design.
- Select Your Favorite Sticker – Pick a sticker from the chosen category.
- Apply the Sticker – Click on the sticker to add it to your photo frame.
- Adjust the Sticker – Resize, rotate, or reposit ion the sticker as needed.
- Finalize Your Design – Once satisfied, proceed to the next step.
Add Quotes
- Click on the Add Quotes Button – Select the “Add Quotes” option.
- Choose Your Favorite Quote – Browse through the available quotes.
- Apply the Quote – Click on the quote to add it to your photo frame.
- Adjust the Quote – Resize, reposition, or customize the font style, color, and opacity.
Add an Image and Stickers
- Click on the Add Image Button – Select an image from your system gallery.
- Place the Image – Resize, rotate, or adjust the position of the image within the photo frame.
- Add a Sticker – Click on the “Add Sticker” button and apply a sticker to enhance your creation.
Save Your Creation
- Click on the Save Image Button – Once you’re satisfied with your design, click “Save Image.”
- Choose Your Format – Save your image in various popular formats, such as:
- JPG
- PNG
- BMP
- MP4 (for animated designs)
- And many more
Now your photo frame creation is ready!