
Watermark Photo & Add Signature
Protect. Personalize. Share with Confidence.
Transform your photos with Watermark Photo & Add Signature, the ultimate tool for protecting your images and amplifying your brand identity. Effortlessly add customizable digital watermarks to multiple photos at once with batch processing, saving you time and ensuring consistency.
Design professional-grade watermarks using a wide range of features, including personalized text, colors, fonts, logos, and effects. Adjust transparency settings to fine-tune your watermark’s appearance, and preview your edits in real-time to achieve flawless results.
Key Features:
- Batch Processing: Add watermarks to multiple photos simultaneously for quick and efficient editing.
- Custom Watermark Design: Personalize every detail, from text to color, size, rotation, and backgrounds.
- Extensive Symbol Library: Access copyright symbols, logos, and more, all customizable to suit your needs.
- Advanced Typography Tools: Craft unique text designs for distinctive watermarks.
- Cross Pattern Placement: Seamlessly position your watermark in the center of your images.
- Built-In Effects & Filters: Enhance your watermarks with stylish filters and effects.
- Preview Feature: Visualize your watermarked photos before finalizing them.
- Social Sharing: Share your watermarked images directly to social media platforms to promote your brand effortlessly.
With Watermark Photo & Add Signature, protect your photos from unauthorized use while leaving a lasting impression. Ideal for photographers, content creators, and businesses, this app ensures your images are safeguarded and your brand identity shines.
Download now to start watermarking with ease and precision!
How to Use Watermark Photo & Add Signature
Download the App:
Go to the Windows App Store and search for Watermark Photo & Add Signature. Download and install the app on your device.Open the App:
Launch the app after installation.Select the Watermarking Option:
- Click on Photo Watermark to begin the process.
- Choose an image or a watermark logo from your system gallery.
Upload Your Image:
- Select the image you wish to watermark and open it in the app.
Choose Your Watermark Source:
- You will see two main options:
- Create Logo: Design a custom watermark from scratch using the app’s tools.
- Gallery: Access pre-created watermark logos provided in the app or select your saved drafts.
- You will see two main options:
Customize Your Watermark:
- Adjust text, color, size, rotation, and transparency.
- Add effects, filters, and customize the watermark’s position, including the Cross Pattern feature for centered placement.
Preview and Finalize:
- Preview your watermarked photo to ensure it looks perfect.
- Make any final adjustments if needed.
Save and Share:
- Save your watermarked photo to your system.
- Share directly to social media platforms to showcase your work or promote your brand.
With Watermark Photo & Add Signature, protecting and personalizing your images is effortless and efficient.
Start Creating Your Watermark:
- Click on the ‘Create New’ button to access the editing features.
Customize Your Background:
- Click on the ‘Change Background’ button to modify the background of your watermark.
- Choose from various background categories, including:
- Colors: Select a solid color for a clean, minimalistic look.
- Images: Use a specific image as the background.
- Gradient: Add smooth color transitions for a modern touch.
- Textures: Pick from a range of textured options to create a unique effect.
- Backgrounds: Explore pre-designed background options for added convenience.

How to Add Shapes to Your Watermark:
- On the right side of the app, you’ll see a variety of different shapes available for use.
- Simply choose your favorite shape to include in your watermark design.
- The app also offers trending and new shapes for more creative options.
- You can adjust the blur and brightness of the shapes to further customize their appearance and fit your watermark design.
Add Text:
- Click the ‘Add Text’ button to write the desired watermark text.
- You can customize the text by adjusting the color, background, position, and opacity to suit your needs.

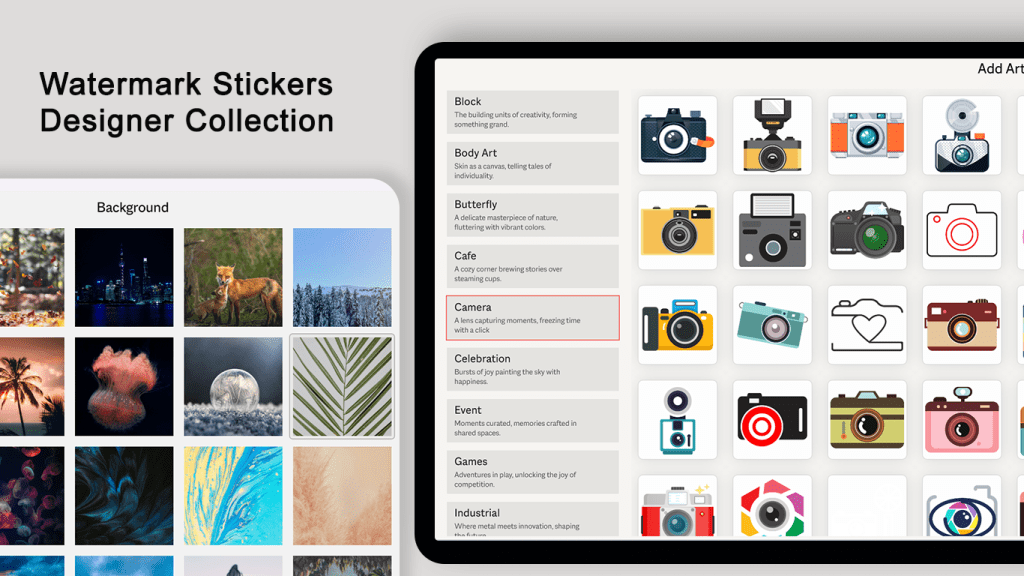
Add Artwork:
- Click the ‘Add Art’ button to include artwork in your watermark.
- The app provides various categories of art to choose from. Simply browse and select your preferred category to add to your design.
Add Photo:
- Click ‘Add Photo’ to upload an image as your watermark.
- Choose between Camera or Gallery options to either capture a new image or upload an existing one from your device.
How to Apply a Filter Effect to Your Watermark:
- Click on the ‘Apply Effect’ button to explore various watermark filter effects.
- Browse through the available options and select your favorite filter.
- Once you’ve chosen the filter, click apply to see the effect on your watermark creation.
How to Save Your Watermark:
- Once you’re happy with your watermark creation, click the ‘Save’ button.
- Your watermark will be saved and ready to use!

How to Use Your Created Watermark:
After saving your watermark, it will appear on the Photo Watermark dashboard.
When you click on the created watermark, you will see four options:
- Select: Choose this option if you’re satisfied with the watermark and want to apply it.
- Modify: If you’re not satisfied with the watermark, click Modify to make changes.
- Delete: If you want to remove the watermark, click Delete.
- Cancel: If you decide not to make any changes, click Cancel.
If you’re satisfied with your watermark, click the Select button to open and apply it.
If you’re not satisfied, click the Modify button to make adjustments.
To delete the watermark, simply click the Delete button.
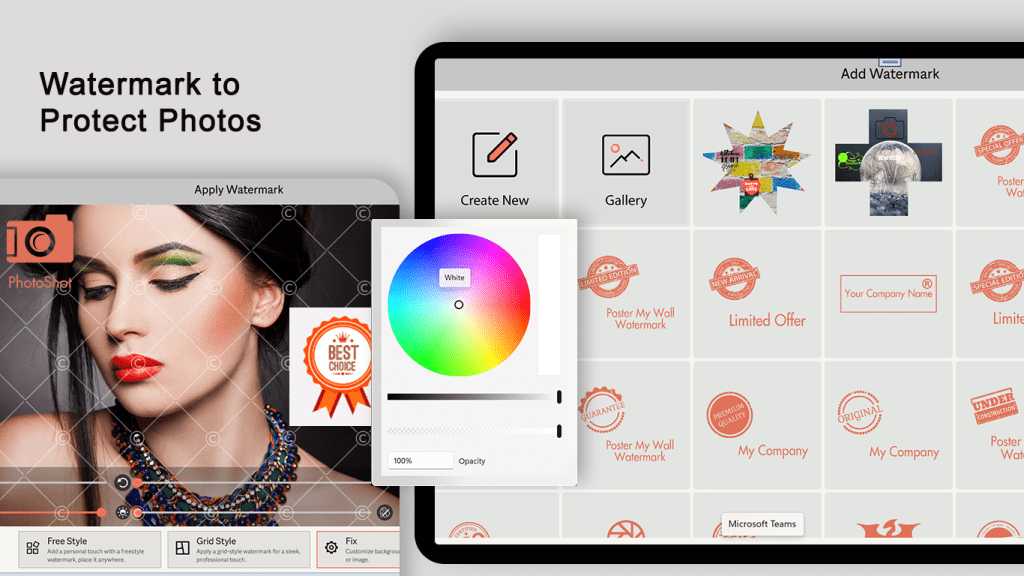
How to Apply Your Created Watermark:
Click on the created watermark and then click the ‘Select’ button to open it.
Free Style:
- Click on the ‘Free Style’ button to use your created watermark logo individually on the image.
- You can adjust the transparency, color, and brightness of the watermark as needed.
Grid Style:
- If you’d like to apply multiple watermark logos to your image, choose the ‘Grid Style’ option.
- You can adjust the transparency, color, and brightness of each watermark logo.
- Additionally, you can change the size and color of your watermark logo.
Fix Watermark:
- If you want to fix the position of your watermark, click the ‘Fix’ button to lock it in place.
Once you’re happy with your watermark, click the ‘Save’ button to save your final creation.